Blog
How to Shingle a Roof in 6 Easy Steps [Homeowners Guide]
Do you have a damaged roof and are a homeowner looking to tackle your own roofing project?
Our easy-to-follow how to shingle a roof instructional guide covers everything from preparing your materials to installing asphalt shingles. We also provide tips on how to get the best new shingle installation and make sure that everything is properly done.
With our 6-step homeowner’s guide, you’ll be able to learn how to tackle shingle installation yourself quickly and efficiently. With minimal technical know-how or expensive tools, you can easily add new shingles to your roof.
If you want to learn how to install shingles yourself, this could save you lots of time and money in the long run. This homeowner’s guide tells you exactly what to do. Read on to find out how.
Choosing the Best Shingles
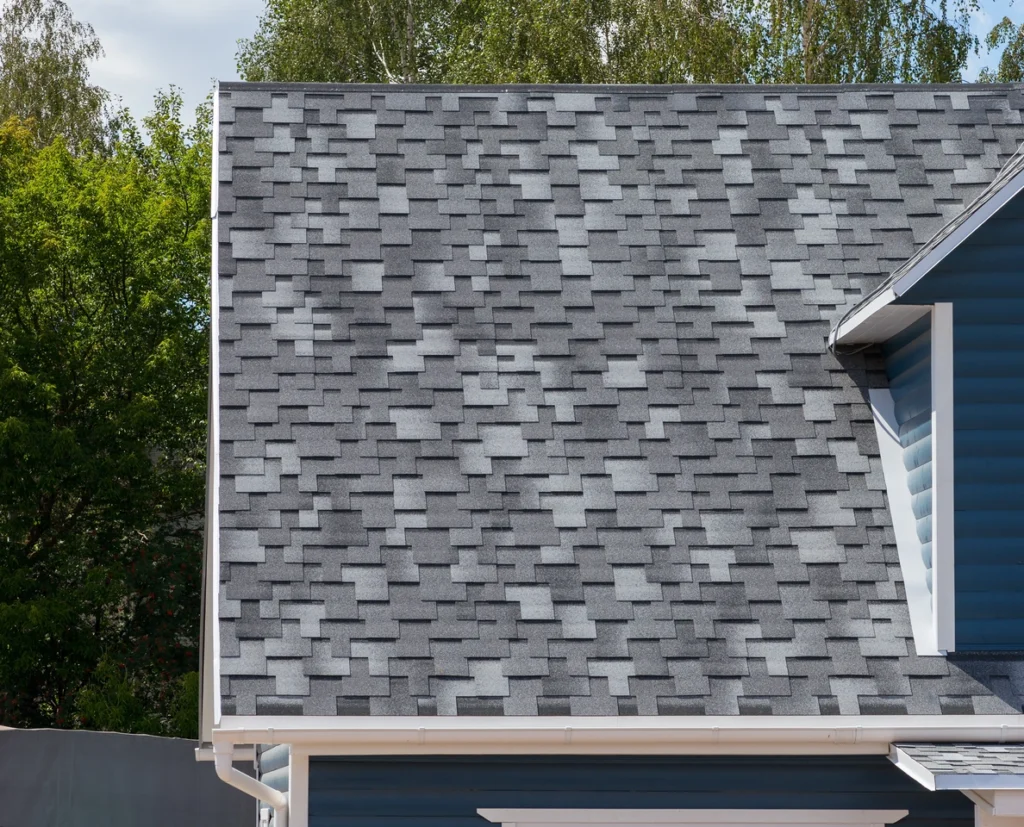
Before you begin to install asphalt shingles, there are some considerations you’ll want to make. Naturally, you will want to use the best shingles based on quality and price as well as looking visually appealing.
However, there are other things to consider to ensure you get it right. Here are some things to think about:
- The aesthetics of the shingles including color and style boost your curb appeal
- Recommendations from others
- Shingles that come with a decent warranty or guarantee
- The wind rating and impact resistance
Gathering the Right Materials
Measure the roof. Figure out how long and wide each section is. Multiply the length and width to get the area of each section.
Add all the sections together to get a total area, then divide by 100 to find out how many squares you need. Multiply that number by 3 to know how many bundles of shingles you should buy.
You need three bundles of shingles to cover 100 square feet (9.29 square meters). Asphalt shingles come in packages called bundles.
Remember to hang the bottom row of the shingles so that they go past the edge of the roof.
How to Shingle a Roof in 6 Easy Steps
Before you start, ensure you have the appropriate safety gear. If you’re working on a porch, then make sure you have a sturdy ladder. If your job is much bigger, such as a full roof, then you’ll need to invest in items like a harness and a line or use safety rails around the building.
Tools Needed
- Garden fork
- Yard brush
- Chalk line
- Tape measure
- Hammer
- Rafter square
- Utility knife
1. Prepare the Roof
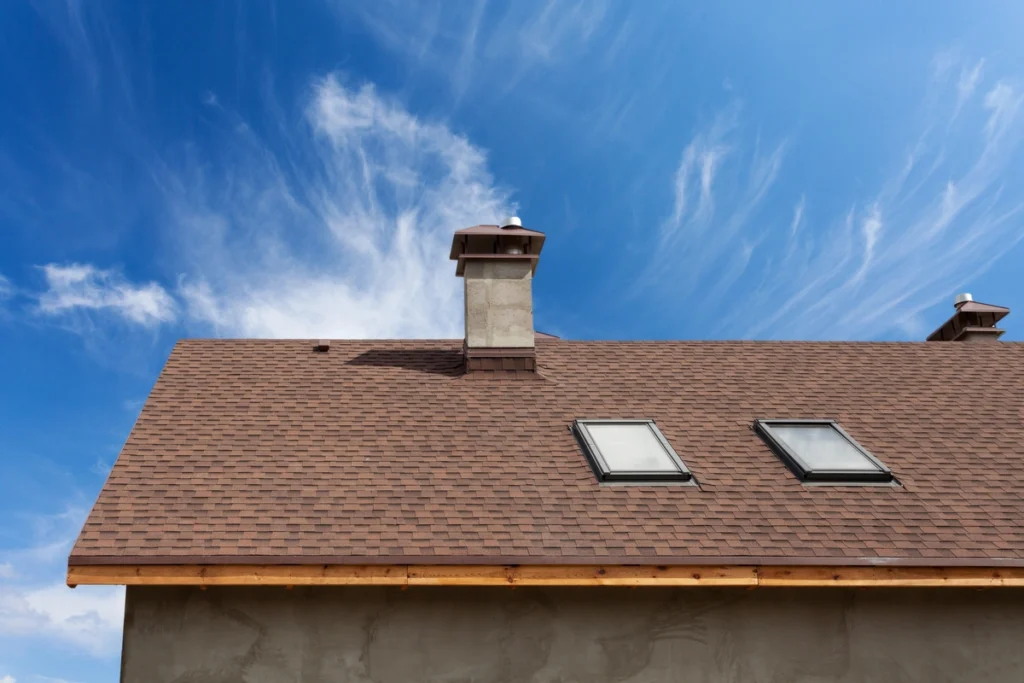
Begin taking off the shingles. Use a garden fork or roofing shovel to do it quickly. Be careful not to damage the sides of the house and windows while you do this.
Take out the nails. Unfasten the ridge caps. Take off the metal around chimneys, vents, and valleys on the roof.
Clean the roof thoroughly with a yard brush. Make sure all the pieces of wood are attached securely, and repair if necessary.
2. Install Underlayment and New Flashing
Firmly staple down the felt. Start at the lowest level, gradually making your way up. Make sure to overlap each row of felt with a minimum of three inches before moving on to the next one. Don’t forget to place “tin caps” beneath staples if wind exposure is likely until shingle installation begins!
Put metal pieces called “drip edge” along the bottom of your roof near the gutters. Put flashing around chimneys and walls, too.
3. Use Chalk Lines to Make a Guide
Draw a line with chalk 7 inches up from the bottom edge of the roof.
Mark the left and right side of the roof with a chalk line. Make more lines that are the same width as the shingles across at least four rows of the roof.
4. Cut Your Shingles
Measure out and cut your shingles to size. Start with the “starter course.” This is the bottom row of the shingles. You may need to prepare tabs and in the shingles, if you’re installing three-tab shingles.
If you need to cut tabs, ensure that they are staggered when they line up on your roof.
Use the chalk to mark out the shingles. Then use a knife to score a snap line to get a straight edge.
Then lay out asphalt roofing felt paper. Fix this securely in place using 1¼-inch galvanized roofing nails.
5. Start Laying Courses
After preparing your shingles, start to fix them in place.
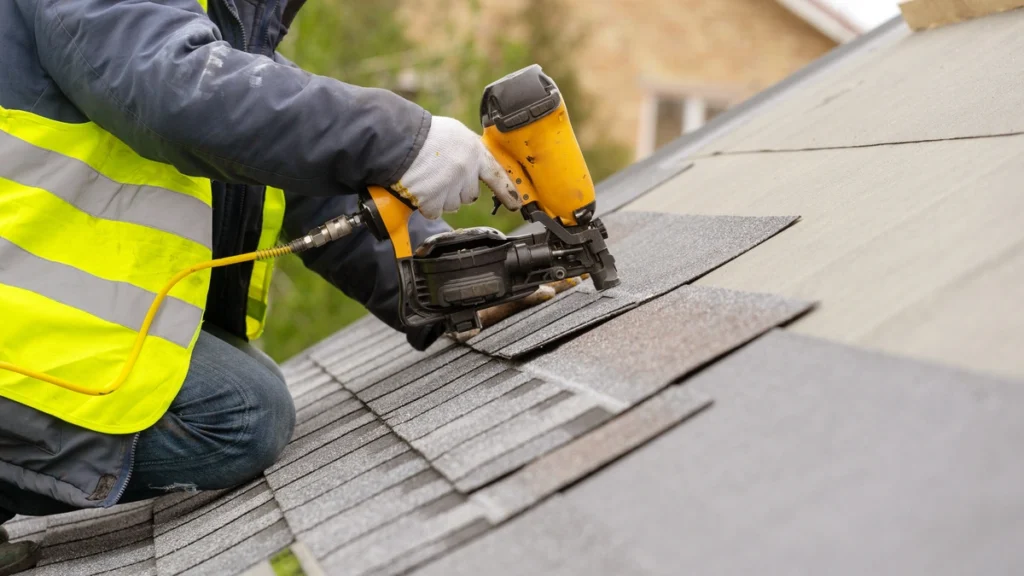
Securely nail each shingle, positioned roughly 6 inches above its lower edge. We recommend using 1¼-inch galvanized roofing nails.
Nailing two nails approximately 2 inches from both ends and another at the 1-inch mark of each cutout slot will ensure optimal security. Furthermore, make sure to avoid hammering any nails into the tar strip as you progress.
The shingles above should cover the nails by about one inch up and down. The nails will be covered by half of a shingle tab from left to right. Make sure the nails hold the lower edge of the top course of the shingles. Trim any edges using a knife.
6. Apply a Heavy Bead of Asphalt Cement
Put dots of cement on the edge of the last ridge shingle and around it. Nail the corners to finish the ridge and put tar on top of the nails.
Make sure to spread asphalt cement over the nails at the top of your roof. This will help keep water from getting inside your house.
Need More Advice on How to Shingle a Roof?
We hope this guide has given you a better understanding of how to shingle a roof. It’s important to take the necessary safety precautions and follow all instructions closely when tackling any home improvement project.
If you need more assistance or advice on how best to shingle your roof, then reach out to our team of experts at Avenue Roofing. Call us today; we are ready to partner with you every step of the way.

