Blog
How to Replace Blown Off Shingles in 7 Quick Steps [DIY Repairs]
A roof is one of the most important components of any building. It protects occupants from the elements keeping them safe and dry. Over time, even the best roofs can develop problems.
Strong winds, heavy rain, and other environmental factors can cause shingles to become dislodged or damaged. This leaves the roof vulnerable to leaks and other damage. If you’re facing this problem, you might be wondering how to replace blown-off shingles.
The good news is that replacing blown-off shingles is a simple DIY repair. One that you can do with just a few basic tools and some careful attention to detail. In this article, we’ll walk you through the seven quick steps of shingle replacement.
Step 1: Safety First
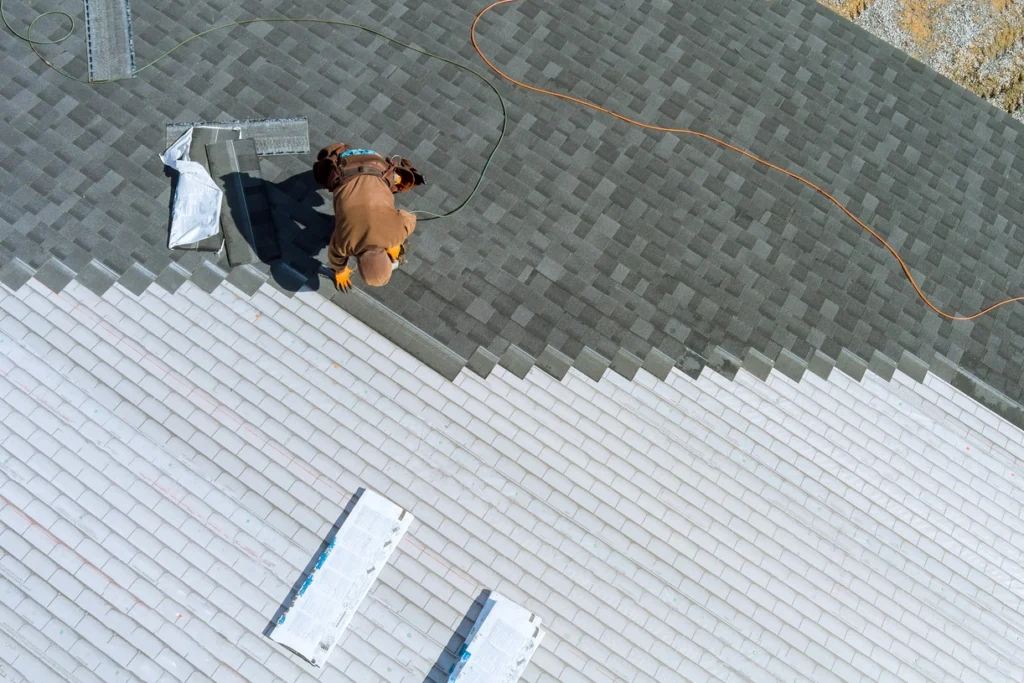
Before you start any roofing repairs, it’s essential to focus on safety. Working on a roof can be dangerous. It’s crucial to take the necessary precautions to prevent accidents and injuries.
The first step to staying safe while repairing a roof is to make sure you have the right safety gear. This includes:
- a sturdy pair of work boots with good traction
- safety glasses or goggles
- a hard hat to protect your head from falling debris
- a harness or safety rope to prevent falls
It’s also a good idea to wear gloves to protect your hands and a dust mask to avoid inhaling any dust or debris.
Step 2: Gather Materials
Before you start replacing blown-off shingles, you’ll need to gather the necessary materials. Here’s a list of what you’ll need:
- Replacement shingles that match your existing shingles, plus extra ones just in case
- Roofing cement or adhesive to secure new shingles in place
- Roofing nails to help secure new shingles to the roof
- Pry bar or shingle remover to remove damaged shingles
- Hammer to secure new shingles in place
- Utility knife to cut new shingles to size
- Caulking gun to apply roofing cement or adhesive
When purchasing materials, it’s important to buy quality products for use on a roof. Look for products labeled as “roofing” or “roof repair” to ensure that they are suitable for the job.
It’s a good idea to buy materials from a reputable supplier. They will be able to offer advice and guidance on the best products for your specific needs. Don’t forget to compare prices and shop around to get the best deals on materials.
Step 3: Inspect the Damage
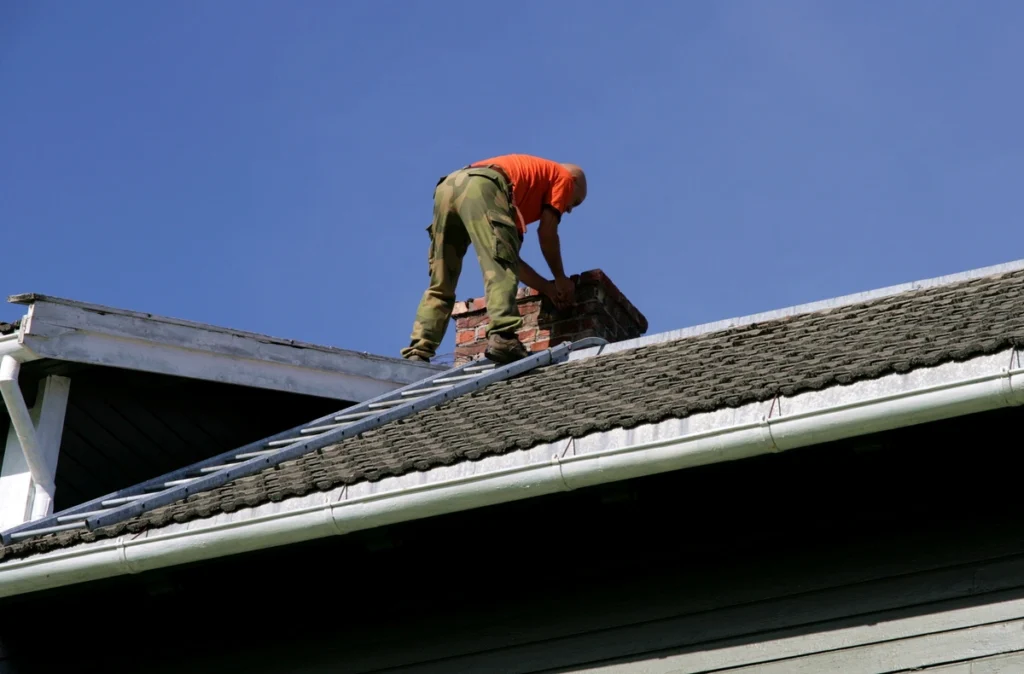
Before you start replacing blown-off shingles, it’s important to thoroughly inspect the damage to your roof. This will help you see the extent of the damage and the best course of action to repair it.
Start by examining the area where the shingles have blown off. Look for any signs of water damage, such as discoloration or mold. This can show that the roof has been leaking for some time.
Check the surrounding shingles to see if any of them are loose or damaged and may need replacing as well.
Next, remove any remaining pieces of the damaged shingle, using a pry bar or shingle remover. Be sure to avoid damaging the surrounding shingles or the roof itself.
Once you’ve removed the damaged shingle, inspect the underlying felt or tar paper. Make sure it’s still intact and not torn or damaged. If it is, you’ll need to replace it before installing the new shingle.
Finally, take a close look at the roof deck to make sure it’s still in good condition. Look for any signs of rot, sagging, or other damage. These issues may need addressing before you can repair the shingles.
If you’re not comfortable inspecting the roof or you’re unsure about the extent of the damage, hire a professional. They will assess the situation and recommend the best course of action.
Step 4: Remove the Damaged Shingles
Start by prying up the edges of the shingle above the damaged shingle using a pry bar or shingle remover. Be sure to work with care to avoid damaging the surrounding shingles.
Next, lift up the damaged shingle and remove any nails that are holding it in place using a hammer or nail puller. Be sure to keep the nails and any other debris clear of the surrounding shingles.
If you find any stubborn nails or shingles that won’t come loose, avoid using excessive force. This can cause further damage to the roof. If necessary, you may need to cut through the nails or shingles using a reciprocating saw or other cutting tool.
Step 5: Install the New Shingles
Cut the new shingle to size using a utility knife or roofing scissors, and cut the replacement shingle to the proper size. Be sure to leave enough overhangs on each side to cover the nail heads of the adjacent shingles.
Using a caulking gun, apply a generous amount of roofing cement to the underside of the new shingle.
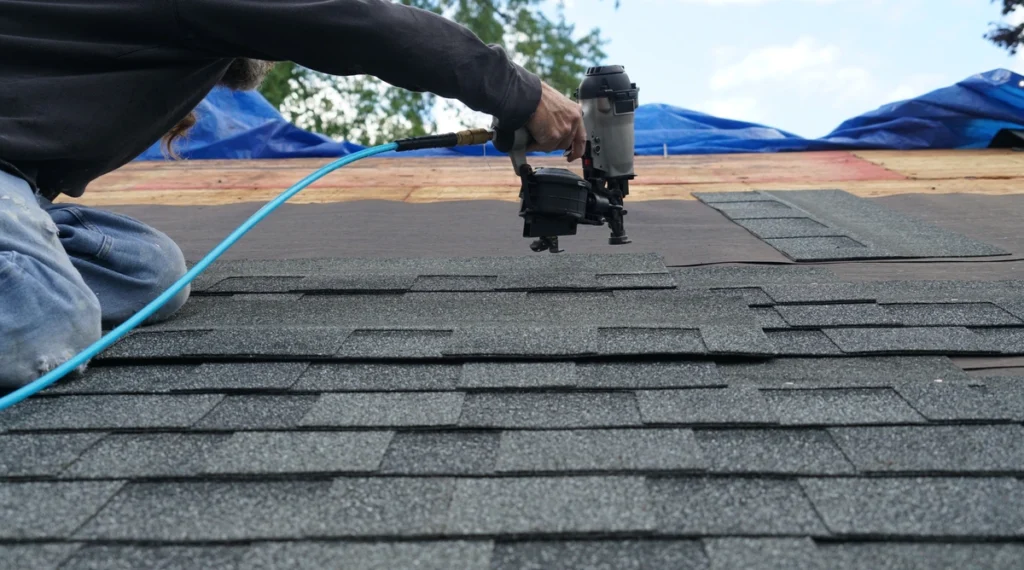
Slide the new shingle into place, making sure it’s aligned with the surrounding shingles. Press down on the shingle to ensure it’s in place.
Using roofing nails, secure the new shingle in place by hammering nails into the corners of the shingle. Be sure to nail the shingle above the tar line to prevent leaks.
Apply roofing cement over the nail heads and along the edges of the new shingle to create a watertight seal. Repeat this process for each shingle that needs replacing.
Make sure to overlap the new shingles with the adjacent shingles for a watertight seal.
Step 6: Secure the Shingles
To ensure the new shingles are well fastened and won’t blow off in the next storm, it’s important to secure them.
After you’ve installed the new shingles, go back over each one and double-check their alignment. If you notice any loose shingles, use roofing nails to secure them.
If you live in an area with high winds or severe weather, consider using roofing adhesives. These products give added protection against wind damage.
Step 7: Clean Up
Gather all the debris and discarded materials, including old shingles, nails, and any other trash. Place them in a sturdy trash bag or container and dispose of them.
Use a broom or blower to clean up any debris or roofing cement from the work area. Be sure to check gutters and downspouts for any debris that may have accumulated there.
That’s How to Replace Blown-Off Shingles
Follow these seven steps on how to replace blown-off shingles to restore the integrity of your roof. Remember to always focus on safety when working on your roof. Consult with a professional if you’re unsure about any aspect of the repair process.
Avenue Roofing is your go-to specialist for replacing shingles in the Jacksonville, FL area. Call us for shingle loss or any type of roof damage. We’ll make quick and professional work of your roofing issues.

