Blog
How to Tarp a Roof in 7 Easy Steps [DIY Guide]
The average damaged roof costs homeowners about $1,000 to repair. However, if you don’t cover the roof before completing repairs, you might end up with a much bigger problem.
That’s why a tarped roof can save the day after storms or when you find a leak. Using a roof tarp can help protect your home while you sort out repairs.
Read on to learn how to tarp a roof in 7 easy steps to prevent more damage.
1. Evaluate Your Damaged Roof
You need to assess the damage to your roof but only if you can do so from the ground. The roof might cave in or start leaking more if you try to walk on it. If you cause more damage, a tarp might not solve your problem and you’ll end up spending more money.
If you don’t think you can safely inspect your roof’s damage by yourself, contact a roofing professional to do a safe and detailed damage assessment. While they’re at your home, they can give you an estimate and schedule your roofing repairs.
2. Consider the Weather
Check the weather for any more dangerous storms heading your way to avoid getting caught up on your roof. You don’t want to lay your tarp during strong winds or risk getting struck by lightning.
Put your safety first and wait until a better time to lay the tarp, even if it means more leaking. You might end up with costly medical expenses if you panic and try to rush to lay the tarp down.
3. Check for Stability
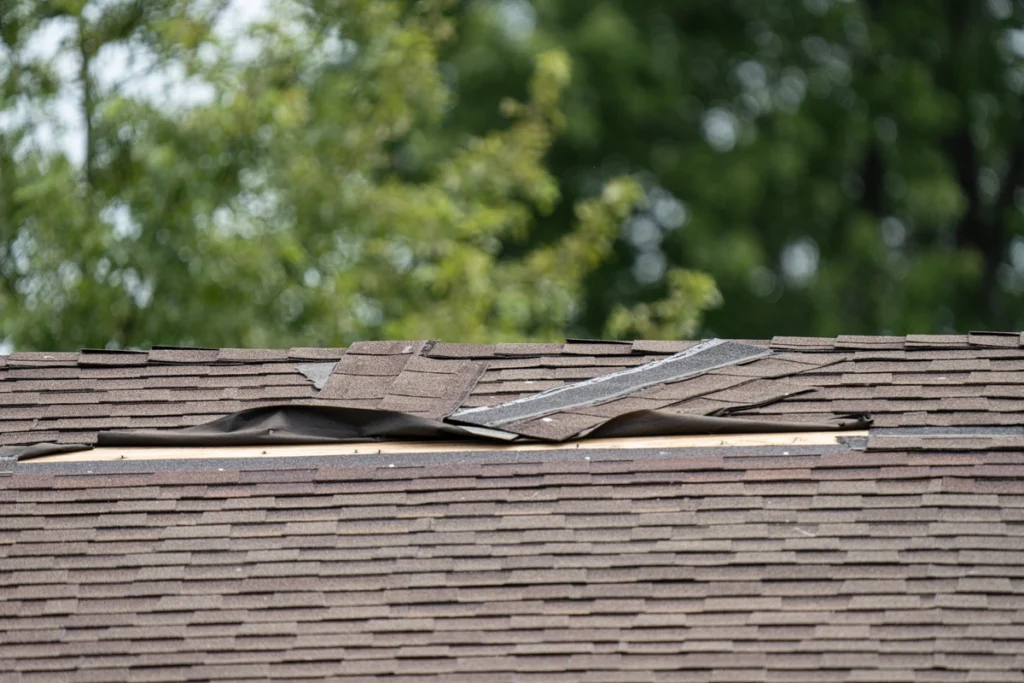
Your roof might look safe from the ground and you might have great weather, but you could find structural issues once you climb up. If you recognize any structural damage or find that you can’t easily access the damaged area, climb down immediately.
Use your best judgment and don’t leave your safety to chance just to get a tarp down. If the roof isn’t structurally sound, switch your strategy and call a roofing company near you to make emergency repairs instead.
4. Take Measurements
After determining the safety of your roof, use a tape measure to find the damaged area’s dimensions. The measurement will give you an understanding of how many tarps you’ll need and their sizes.
You can also use the measurements you take to decide what tools you’ll need to hold the tarp in place on your roof.
5. Tarp Positioning
Gather however many tarps you need and start to cover the damaged area of your roof with them. Make sure they completely cover the damaged spot without leaving any gaps or sagging to prevent more damage.
Make sure that your tarps overlap the damaged area in all directions by about 4 feet. Doing so prevents water from seeping under the tarps and getting into the seams, which defeats the purpose of placing the tarps.
6. Hold Down the Tarp
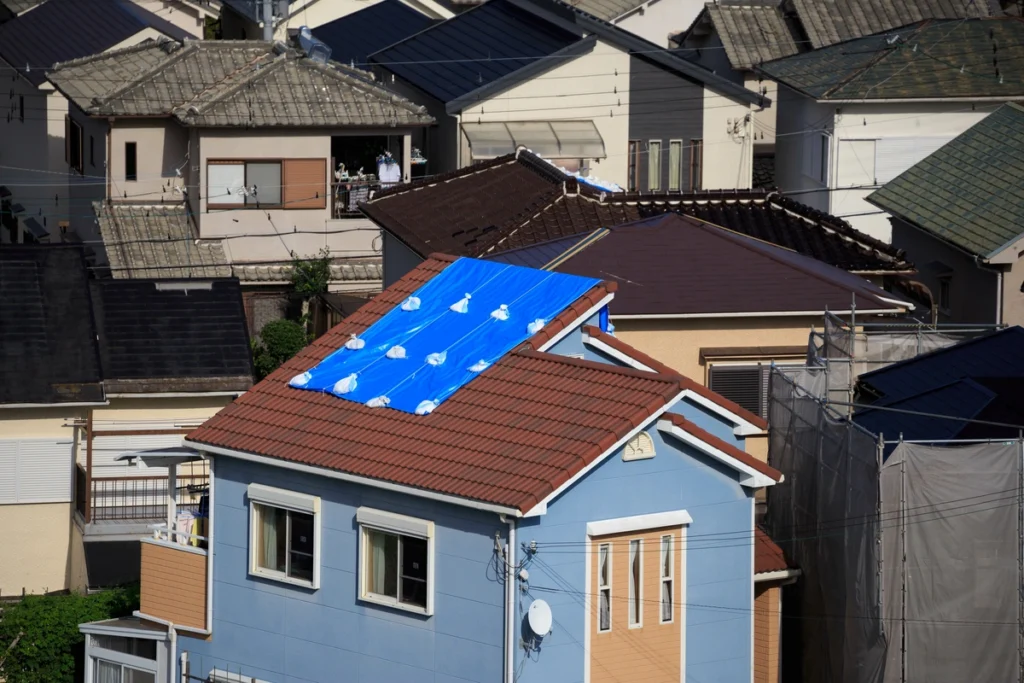
Once you lay down your tarp, use wooden boards to temporarily hold down the tarp so it doesn’t blow away or move. You should try to start at the peak of your roof if possible.
Lay down your boards to anchor the tarp and allow any extra tarp material to hang over the side of your roof. If there’s too much tarp hanging over the edge, consider a smaller size so that it doesn’t blow around too much.
7. Secure the Tarp in Place
Use nails on each side of your temporary anchor boards to secure them and have your tarp in place. Then, check over the nails and make sure you didn’t create any observable holes in your tarp.
Check the boards to make sure they are anchored enough to withstand strong winds without flexing. If they move around, I might cause more damage to your roof.
In the end, your tarp should be completely secured between the roof and the anchoring boards. Double-check that the seal is tight enough to endure heavy rains to stop water from getting under the tarp.
Other Roof Tarping Tips and Benefits
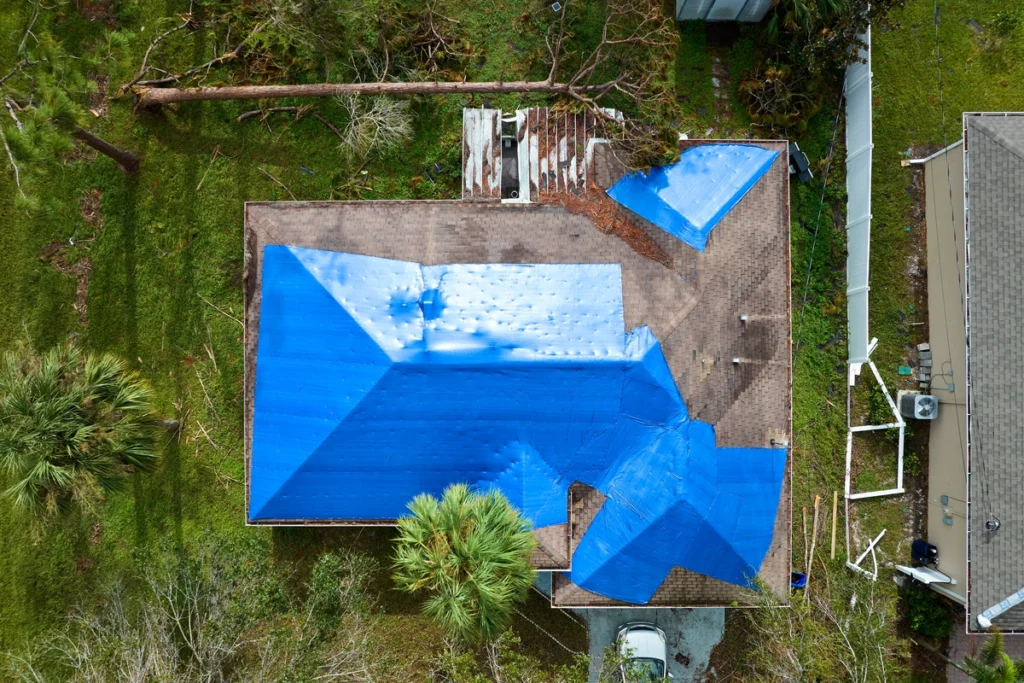
Laying a tarp on a damaged roof protects ceilings, drywall, and other household structures from water damage. That means it also protects homes from mold and stops any current mold from becoming worse.
If there’s a hole in your roof during the summer or winter, it might cause big insulation issues. A tarp over missing shingles or holes helps keep warm air inside during the winter and hot air out during the summer.
In certain circumstances, your insurance company might cover the cost of roof tarps. They might also cover the fees if you have a professional lay the tarp for you.
Insurance companies don’t want to cover any extra damage and some actually require a roof tarp after severe storms. Always use a tarp as soon as possible to avoid complicating insurance claims.
Keep in mind that you can leave a tarp on a roof for up to 3 months until the repairs are complete. If you’ve had a tarp covering damages for more than 90 days, it likely won’t provide the same level of protection.
If possible, inspect the tarp after 3 months and replace it if necessary.
Understanding How to Tarp a Roof
It’s crucial to take action after severe weather and now you know how to tarp a roof like a pro. However, it might take an actual professional if you don’t think your roof meets safety requirements.
If you need assistance or more information about roof repair, you can contact us at Avenue Roofing. We provide North Florida with the best roofing technology and innovation.
