Blog
Comprehensive Storm Damage Roof Repair Guide
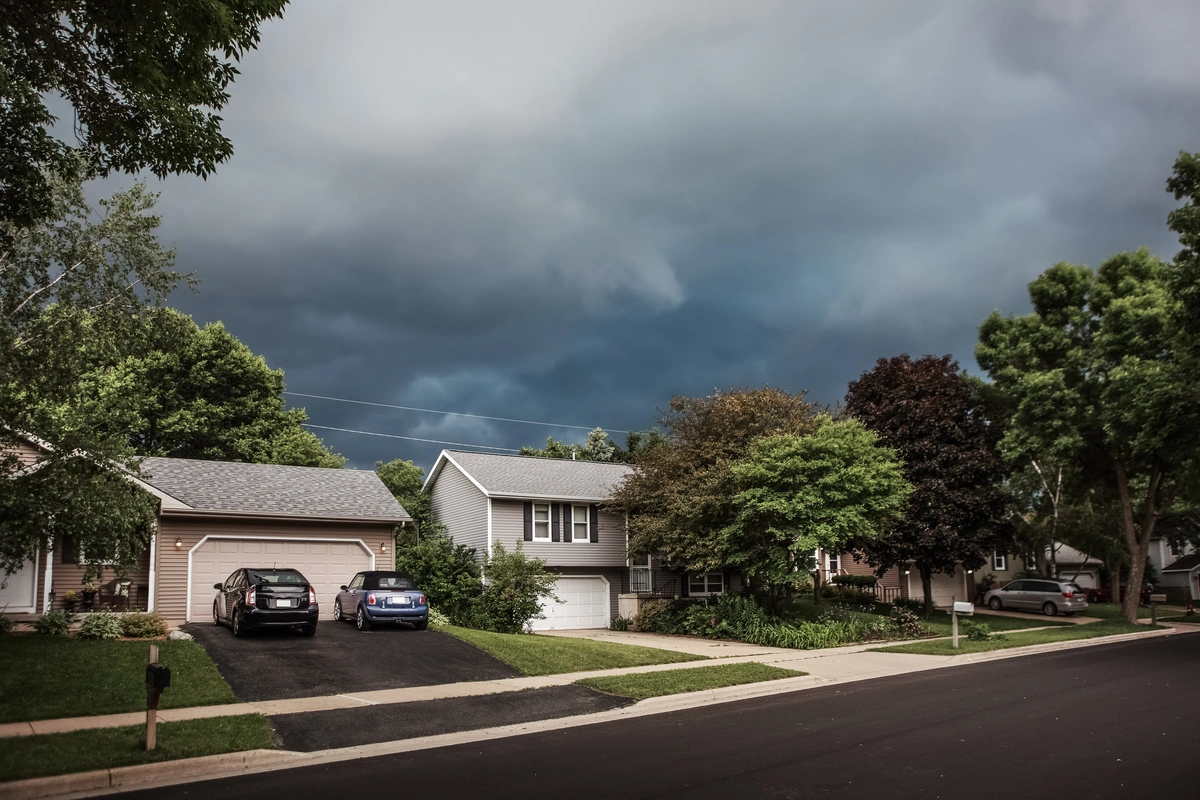
Storms are a natural and often unpredictable force that can wreak havoc on homes, especially the roof. When a storm hits, the roof is the first to be affected, bearing the brunt of:
- High winds
- Torrential rains
- Hail
- Debris
This blog post aims to provide you with everything you need to know about storm damage roof repair, helping you understand the steps you need to take to protect your home and ensure your roof is in top condition.
Understanding Storm Damage
Before diving into the specifics of storm damage roof repair, it’s essential to understand the types of damage your roof can sustain during a storm. Here are some common forms of storm damage:
- Wind Damage: High winds can lift and tear off shingles, exposing the underlying roof structure to the elements. These winds can also cause branches or other debris to strike the roof, resulting in physical damage.
- Hail Damage: Hailstones can create dents and punctures in roofing materials. Even small hail can cause significant damage, especially to older roofs.
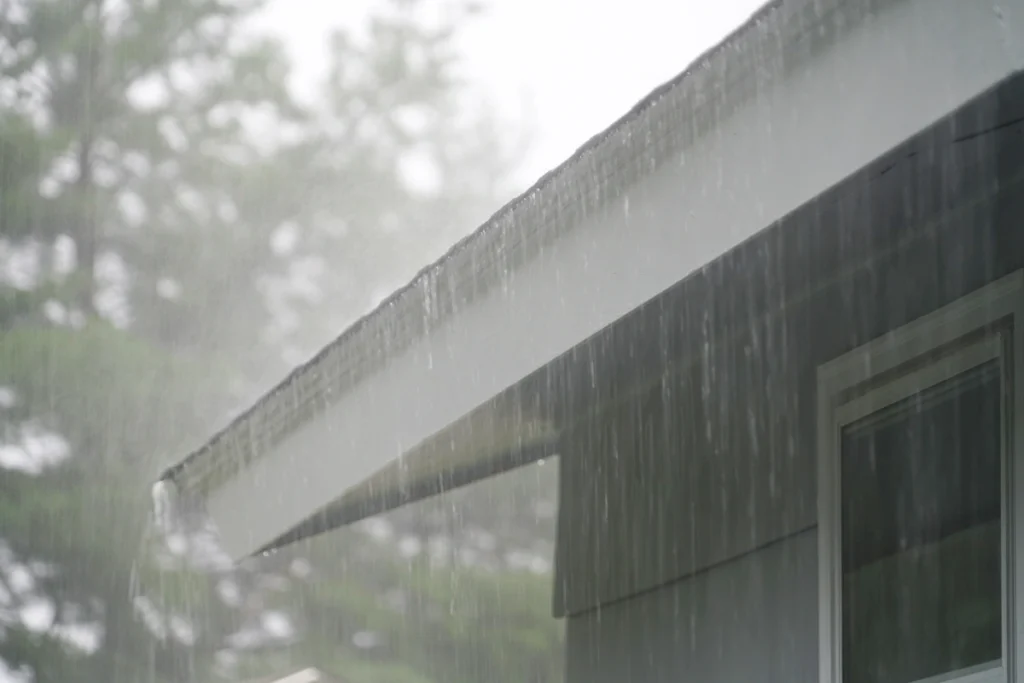
- Water Damage: Heavy rain can lead to leaks, particularly if your roof has pre-existing vulnerabilities. Water infiltration can cause structural damage and mold growth.
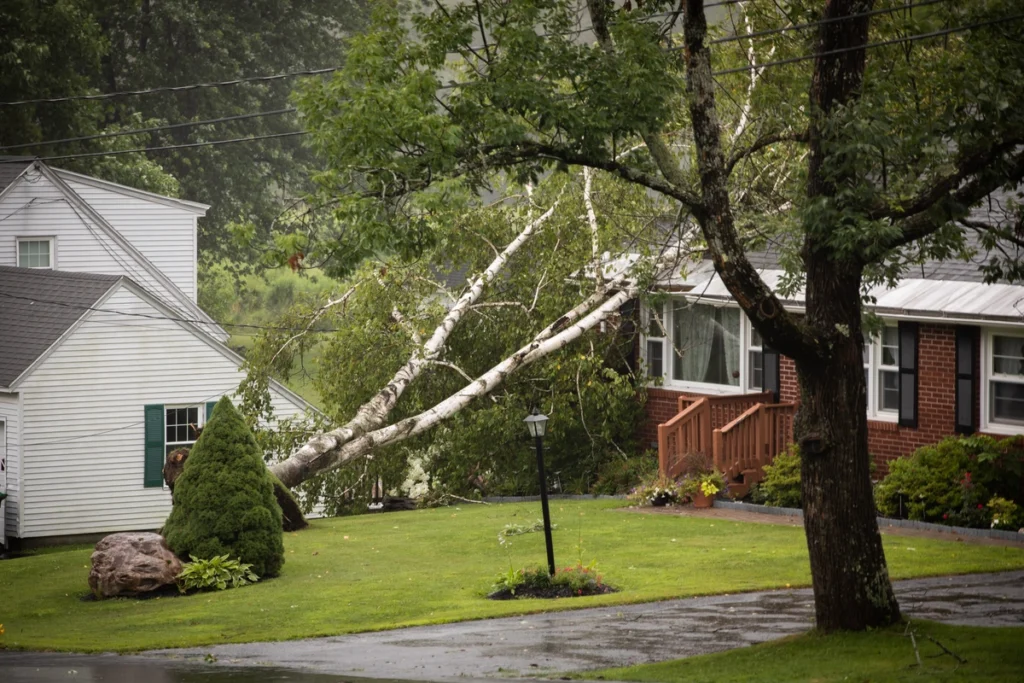
- Debris Damage: Falling trees, branches, or other debris can cause immediate and severe damage to your roof, sometimes leading to partial or complete collapse.
Understanding these types of damage will help you identify the problems and take appropriate action.
5 Immediate Steps After a Storm
Once the storm has passed, it’s crucial to take immediate steps to assess and mitigate any damage to your roof. Here’s a step-by-step guide:
1. Ensure Safety First
Your safety should always be the top priority. Before inspecting the roof, make sure the storm has entirely passed, and there are no immediate hazards such as downed power lines or unstable structures.
2. Conduct a Preliminary Inspection
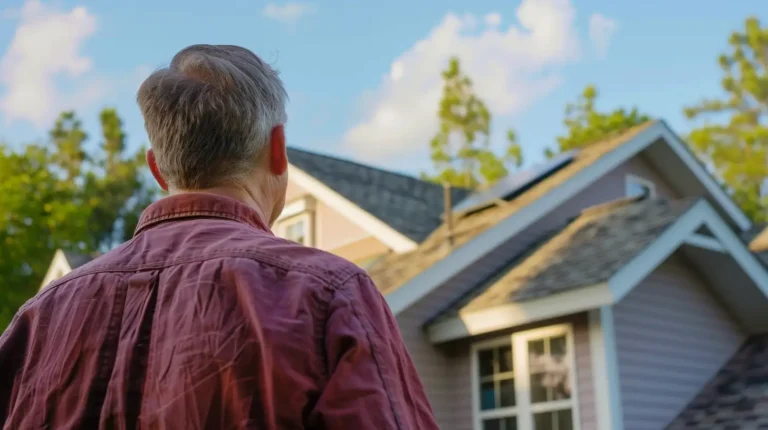
Perform a preliminary inspection from the ground. Use binoculars to get a closer look at the roof’s condition. Look for missing or damaged shingles, dents from hail, and any debris on the roof.
3. Document the Damage
Take detailed photographs of any visible damage. This documentation will be invaluable when filing an insurance claim. Make sure to capture multiple angles and both wide shots and close-ups.
4. Temporary Repairs
If there are immediate threats to your home’s interior, such as active leaks, perform temporary repairs to minimize damage. You can use tarps or waterproof sheeting to cover exposed areas.
5. Contact Your Insurance Company
Notify your insurance company about the storm damage as soon as possible. They will guide you through the claims process and may send an adjuster to assess the damage.
Detailed Roof Inspection
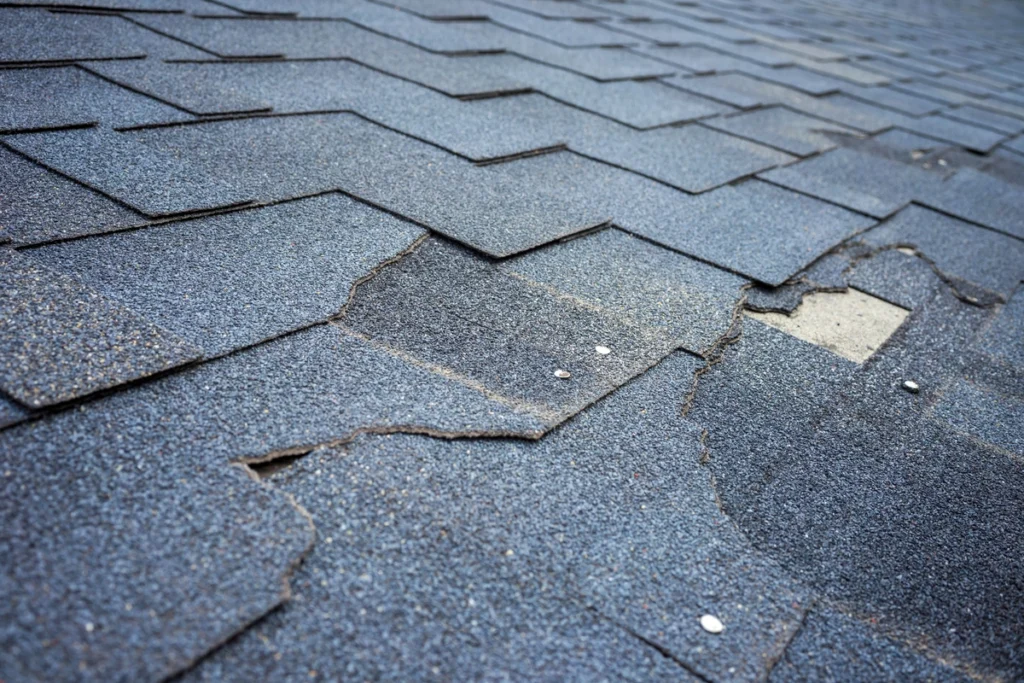
After the preliminary steps, it’s time for a more thorough roof inspection. While you can perform some checks yourself, it’s often best to hire a professional roofing contractor to ensure a comprehensive assessment. Here are key areas to inspect:
Exterior Inspection
- Shingles: Look for missing, curled, or cracked shingles. Pay attention to granule loss, which can indicate hail damage.
- Flashing: Check the flashing around chimneys, vents, and other roof penetrations for signs of damage or displacement.
- Gutters and Downspouts: Inspect gutters and downspouts for blockages and damage. Look for granules from shingles, which can accumulate in gutters.
- Soffits and Fascia: Examine soffits and fascia for signs of water damage, rot, or loosened sections.
- Roof Ventilation: Ensure that roof vents are intact and unobstructed.
Interior Inspection
- Attic: Inspect the attic for signs of water infiltration, such as damp insulation, water stains, or mold growth.
- Ceilings and Walls: Look for water stains or bubbling paint on ceilings and walls, which can indicate leaks from the roof.
- Structure: Check for any structural damage, such as sagging or warping of the roof deck.
Hiring a Professional Roofing Contractor
Given the complexities involved in storm damage roof repair, hiring a professional roofing contractor is often the best course of action. Here are some tips for selecting the right contractor:
- Verify Credentials: Ensure the contractor is licensed, insured, and bonded. Check for certifications from reputable roofing organizations, such as the National Roofing Contractors Association (NRCA).
- Request References: Ask for references from past clients and follow up with them to gauge their satisfaction with the contractor’s work.
- Get Multiple Quotes: Obtain quotes from several contractors to compare pricing, scope of work, and warranty offerings. Be wary of quotes that seem unusually low, as they may indicate subpar materials or workmanship.
- Review Contracts Carefully: Review the contract thoroughly before signing. Ensure it includes detailed information about the scope of work, materials to be used, project timeline, and payment terms.
Understanding The Roof Repair Process
Once you’ve selected a contractor, the roof repair process can begin. Here’s an overview of what to expect:
Initial Assessment and Planning
The contractor will conduct a detailed assessment of the damage and create a repair plan. This plan will outline the necessary repairs, materials required, and estimated timeline.
Obtaining Permits
Depending on the extent of the repairs, permits may be required. Your contractor will handle the permitting process.
Material Selection
Work with your contractor to select appropriate roofing materials. Consider factors such as durability, weather resistance, and aesthetic appeal.
Roof Repair
The actual repair process will involve several steps:
- Removing Damaged Materials: The contractor will remove damaged shingles, underlayment, and other affected materials.
- Repairing the Roof Deck: If the roof deck has sustained damage, it will be repaired or replaced.
- Installing New Underlayment: A new underlayment will be installed to provide a moisture barrier.
- Replacing Shingles: New shingles will be installed, ensuring they match the existing roof as closely as possible.
- Flashing and Ventilation: Damaged flashing and ventilation components will be repaired or replaced.
Final Inspection
After the repairs are complete, the contractor will perform a final inspection to ensure all work has been done correctly and meets industry standards.
Preventing Future Storm Damage
While you can’t control the weather, there are steps you can take to minimize the risk of future storm damage to your roof:
- Regular Maintenance: Schedule regular roof inspections and maintenance to identify and address potential issues before they become major problems.
- Trim Trees: Trim overhanging branches and remove dead or weak trees near your home to reduce the risk of falling debris during a storm.
- Install Impact-Resistant Shingles: Consider upgrading to impact-resistant shingles, which are designed to withstand hail and high winds.
- Secure Loose Items: Secure outdoor furniture, decor, and other loose items that could become airborne during a storm and potentially damage your roof.
- Reinforce Roof Structure: For areas prone to severe storms, consider reinforcing your roof structure to provide additional stability and resistance to wind and water damage.
Your Roof Storm Damage Experts
Storm damage roof repair is a critical task that requires prompt attention and professional expertise. Implementing preventive measures will help safeguard your roof against future storms, providing peace of mind for years to come.
If you’re dealing with storm damage or want to take proactive steps to protect your roof, don’t hesitate to contact our team at Avenue Roofing for simple solutions to your roof damage problems. We’re here to help you every step of the way.
