Blog
6 Pro Tips on How to Cut Shingles Quickly and Effectively
Whether you’re a homeowner tackling a DIY roofing project or a professional contractor, cutting shingles accurately is essential to achieving a durable, aesthetically pleasing roof. With precise cuts and thoughtful planning, you can ensure that your roof is weather-resistant, secure, and visually appealing. This guide delves into essential tools, best practices, and specific techniques how to cut shingles effectively.
Why Proper Shingle Cutting Matters
Cutting shingles accurately minimizes waste, saves time, and enhances the final appearance and functionality of a roof. Correct shingle cuts reduce the risk of leaks, prevent gaps between shingles, and contribute to a seamless finish that protects the home. Avenue Roofing, located in Jacksonville, FL, emphasizes quality craftsmanship, and mastering shingle cutting is a cornerstone of reliable roofing work.
Essential Tools: How to Cut Shingles with Precision and Ease
A high-quality tool selection ensures that your shingle cuts are both precise and efficient. Here’s what you’ll need to get started:
- Utility Knife with Hook Blade: Ideal for both straight and curved cuts.
- Heavy-Duty Shingle Scissors: Provides clean, efficient cuts, especially useful for intricate areas.
- Straight-Edge Guide: Assists in maintaining straight cuts across the shingle.
- Chalk Line: Helps mark clear, straight guidelines.
- Measuring Tape: Ensures consistent measurements for uniform cuts.
Each tool plays a specific role in ensuring cuts are aligned and consistent, reducing installation errors and saving time.
Step-By-Step Guide to Cutting Shingles
1. Setting Up a Safe Work Environment
Safety is paramount when working on roofs. Ensure that your workspace is stable, clear, and well-ventilated. Always wear protective gear like safety goggles, gloves, and a dust mask to protect yourself from potential hazards such as sharp tools and roofing debris.
2. Marking Precise Cut Lines
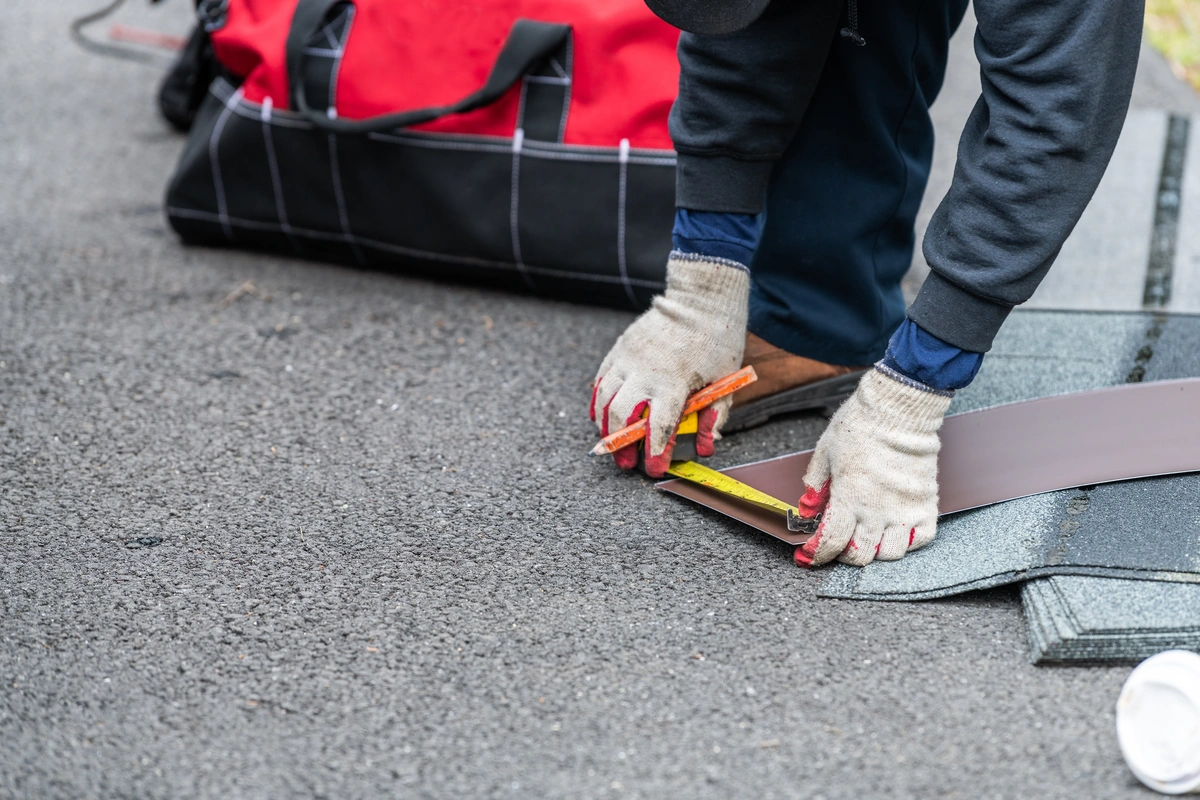
Before making any cuts, measure and mark cut lines with a chalk line or pencil. This guideline will be critical for accuracy, especially if you’re cutting multiple shingles for uniformity.
Tips for Marking Shingles
- Measure Twice, Cut Once: Double-check your measurements to avoid mistakes.
- Use Chalk Lines for Long Cuts: A chalk line can help mark straight lines on shingles, especially for long, horizontal cuts.
- Mark Cut Points Clearly: Ensure all cutting points are clearly marked and easy to follow for precise cuts.
3. Spacing Out Cuts for Maximum Flexibility
To avoid a cramped, uneven look on the roof, space out your cuts by leaving a small margin (about 1-2 inches) between cuts. This practice provides extra room for adjustments and eases installation, especially when aligning shingles around angles or irregular roof edges.
4. Making Straight and Clean Cuts
Using a straight-edge guide is one of the most effective ways to ensure clean, straight cuts. Place the guide along the marked line and cut along the edge for a crisp finish.
Tips for Accurate Cuts:
- Hold the Guide Firmly: Maintain a firm grip on the straight edge to prevent slippage.
- Apply Consistent Pressure: This minimizes jagged edges and ensures the cut is smooth and uniform.
5. Cutting Shingles from the Top Down

For a professional finish, start cutting shingles from the top and work your way down. This approach gives you better control over the cut’s length and minimizes errors. If a minor adjustment is necessary, this technique allows it without impacting the appearance of the installed shingle.
Benefits of Top-Down Cutting
- Enhanced Control: Allows you to make adjustments as you go.
- Fewer Visible Errors: Mistakes can be corrected on the spot, reducing visual imperfections.
6. Making Perpendicular Cuts for a Tight Fit
To avoid gaps between shingles, aim to cut at a 90-degree angle, keeping cuts perpendicular to the shingle edge. This technique ensures a snug fit and prevents the formation of gaps that can lead to water seepage and roof leaks.
How to Maintain Perpendicular Cuts
- Position the Shingle Correctly: Secure the shingle firmly to avoid any movement.
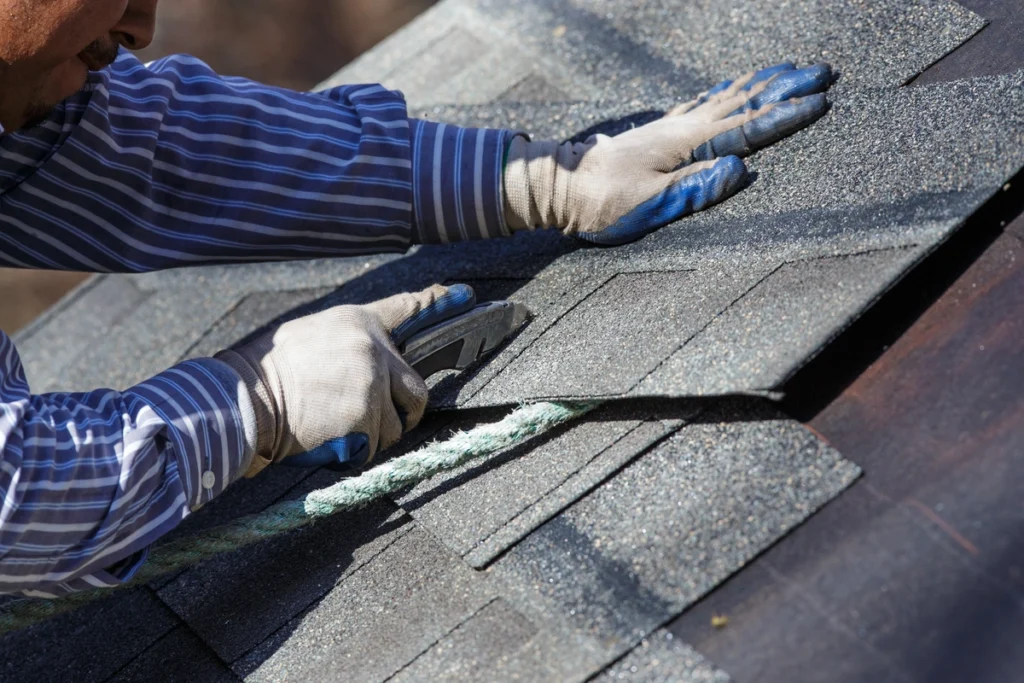
- Use a Utility Knife for Precision: With its sharp edge, a utility knife helps maintain a straight line with ease.
7. Trimming for Custom Shapes and Complex Angles
Some areas, like valleys and corners, require precise and often complex cuts. To address these needs:
- Trim Small Portions Gradually: Avoid over-cutting by trimming off small sections to shape the shingle as needed.
- Fit Test Before Final Installation: Place the shingle on the area to check the fit before securing it, ensuring it aligns correctly with adjacent shingles.
Advanced Shingle Cutting Techniques
Working with Asphalt and Fiberglass Shingles
These types of shingles may require specialized tools or techniques due to their unique composition. Asphalt shingles, for example, are more flexible and can be easily cut with a utility knife, while fiberglass shingles require a sharper blade to avoid fraying.
- For Asphalt Shingles: Use a utility knife with a hook blade for clean, effortless cuts.
- For Fiberglass Shingles: Ensure your blade is sharp to prevent rough edges.
Curved and Circular Cuts
In cases where shingles need to be cut to fit around circular objects like vents, mark the shingle with the desired shape and cut carefully with a utility knife.
- Use Small Scissors for Detail Work: This helps in creating precise curves and prevents over-cutting.
- Apply Moderate Pressure: Avoid applying excessive force to maintain clean, controlled cuts.
Safety Tips for Working with Shingles
Safety cannot be overstated when handling shingles, especially when on a roof. Avenue Roofing advises all DIY roofers to prioritize their safety by following these guidelines:
- Wear Protective Gloves: Gloves protect against cuts and scrapes.
- Use a Dust Mask and Safety Goggles: Shingle particles and dust can be harmful if inhaled or if they contact your eyes.
- Stay Mindful of Your Footing: Roofs can be slippery, especially on sloped surfaces; wear non-slip footwear for secure footing.
Conclusion
Cutting shingles with precision is crucial for ensuring a watertight, aesthetically pleasing roof that will withstand the elements. By investing in the right tools, using proper techniques, and prioritizing safety, you can achieve a professional-grade finish on any roofing project. If you’re based in Jacksonville, FL, and need further assistance, Avenue Roofing offers expert roofing services to support you in every step of your roofing journey.
FAQ: Cutting Shingles Effectively
What’s the Best Tool for Cutting Shingles?
A utility knife with a hook blade is ideal for cutting asphalt shingles. It provides precise control and can make both straight and curved cuts with ease. Shingle scissors are also useful for detail work and intricate cuts, especially in areas with complex shapes or angles.
Can I Use an Oscillating Tool to Cut Shingles?
Yes, an oscillating tool can cut shingles effectively, especially for areas that require precision. Be sure to use a blade suitable for asphalt or fiberglass material, and take care to make clean, controlled cuts to avoid frayed edges.
What Safety Gear Should I Use When Cutting Shingles?
Wear safety goggles, a dust mask, and heavy-duty gloves when cutting shingles. Working on a roof also requires slip-resistant footwear, and it’s recommended to work in a well-ventilated area to avoid inhaling dust and particles.
How Do I Make Curved Cuts Around Vents or Pipes?
Mark the outline on the shingle and use a utility knife or small scissors to carefully follow the curve. Work slowly to avoid over-cutting and test fit before final installation.


