Blog
How to Remove Shingles in 7 Simple Steps [Pro Guide]
How to Remove Shingles in 7 Simple Steps [Pro Guide]
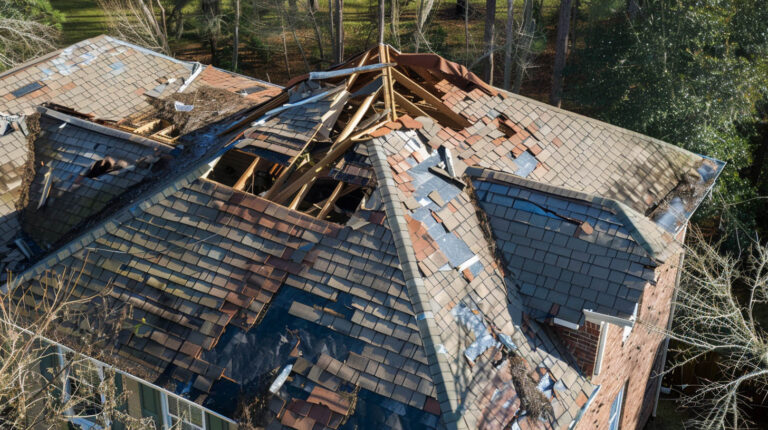
Depending on the manufacturer and the material used to cover it, a shingled roof can last up to 40 years. But it’s a big mistake to think that your roof won’t need regular maintenance long before this. What’s more, our state’s adverse weather conditions mean that most Florida homeowners are lucky if their roofs last even half that long.
To extend the life of your roof, it’s necessary to remove and replace roof shingles periodically. Although shingle removal isn’t the easiest or cheapest home repair, it’s far more affordable than a full roof replacement.
If you’re wondering how to remove shingles and aren’t sure where to start, we can help! It only takes seven simple steps to learn how to remove shingles. Keep reading for our step-by-step roof removal pro guide.
When Do You Need to Replace Roof Shingles?
Water damage inside your house such as staining, mold, and mildew often means that you might have a problem with your roof. Otherwise, it can be difficult to know when it’s time to replace your roof shingles. Some tell-tale signs to keep an eye out for include:
- Shingles curling up at the edges
- Moss and algae building up on the roof’s surface
- Asphalt granules from shingles collecting in your gutters
- Shingles coming off the roof in adverse weather
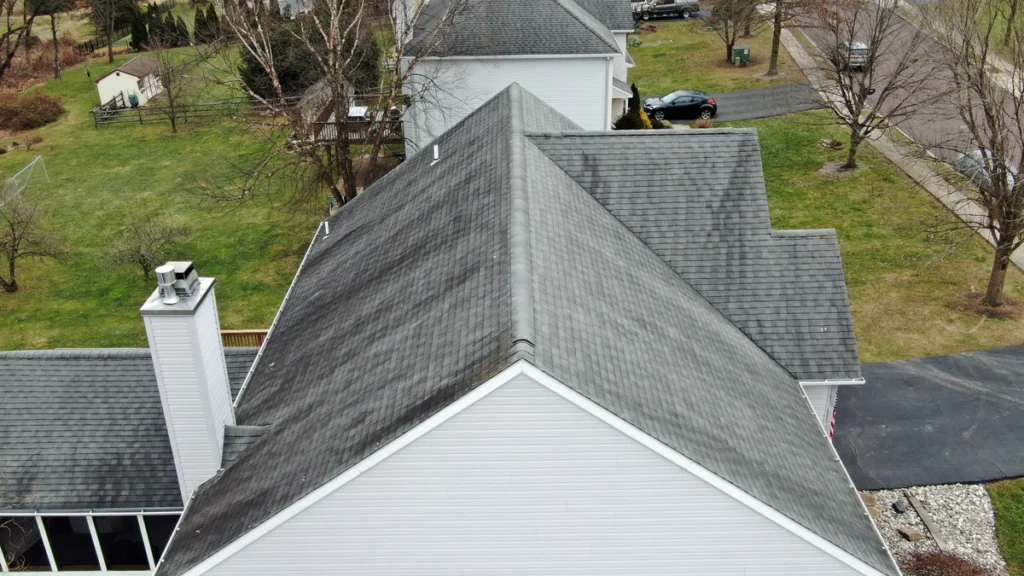
The age of the roof can be a deciding factor too. Even if there’s no obvious visible damage, roofs that are more than 15 years old likely need some shingle removal. While here at Avenue Roofing we use premium materials, not all roofing contractors can say the same.
If you’re concerned about your roof for any reason, get a professional roof inspection. As well as checking your roof for signs of damage, we can advise you on roof shingle care to prolong the life of your existing structure.
How to Remove Shingles in 7 Steps
If you decide that shingle removal is the way to go, follow these seven steps:
1. Paperwork and Planning
Long before you start tearing off roof shingles, you’ll need to check local building codes and apply for a building permit. Once the paperwork is in hand, the next part of the planning process is setting a date.
Weather can be very unpredictable, especially in Florida. Arranging a prompt roof replacement avoids leaving the underlayment exposed to the elements for too long and makes water damage less likely. If you plan on hiring a professional roofing contractor to fit the replacement shingles, you’ll also have to coordinate the removal with the crew’s availability.
2. Gather the Necessary Gear
Roof removal is dangerous so you must take all safety requirements seriously and use the correct tools and equipment for the job. These include:
- Safety harness
- Adjustable roof jacks
- 2″ x 10″ protection board
- Extension ladder
- Safety glasses
- Work gloves
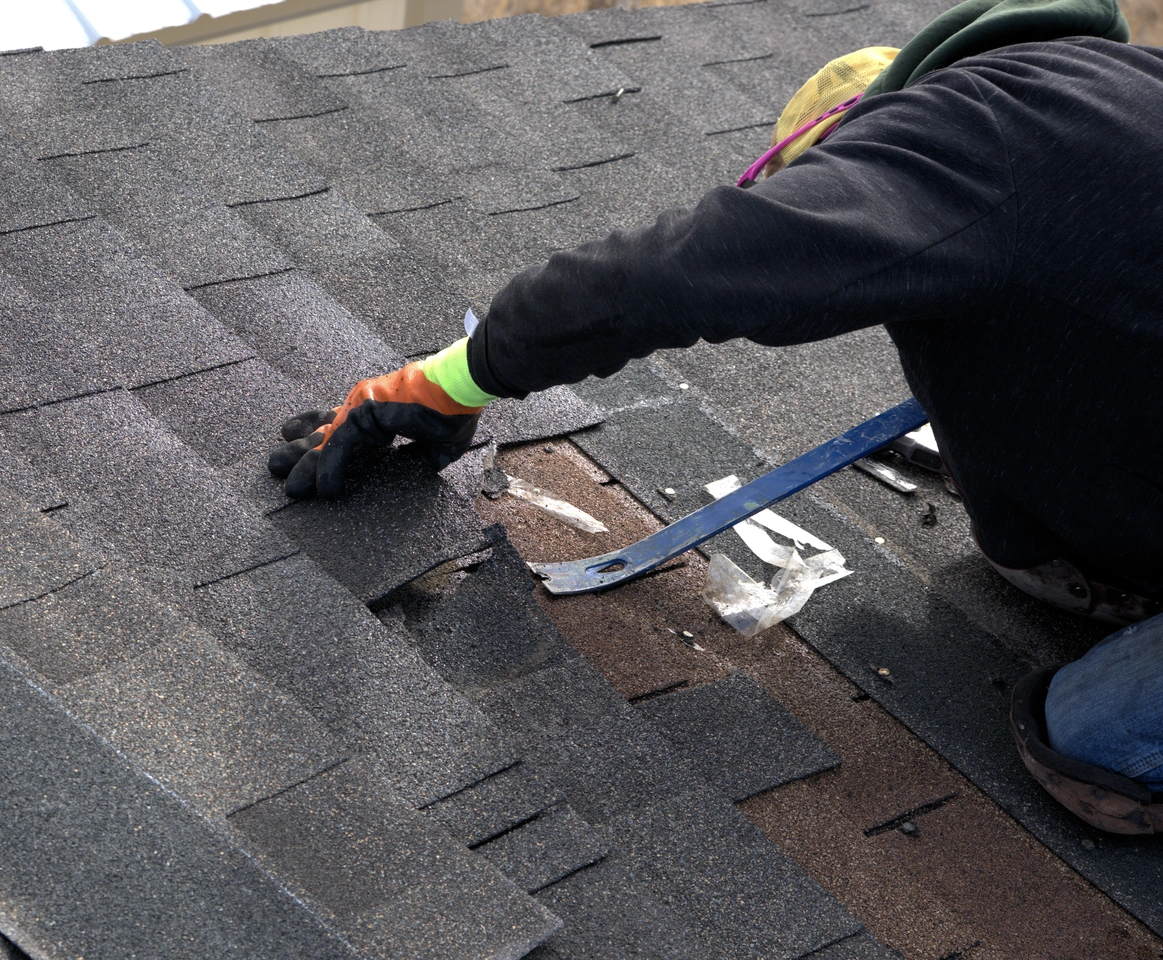
- Roofing tear-off tools, such as a pry bar, push broom, and a roofing shovel or garden fork
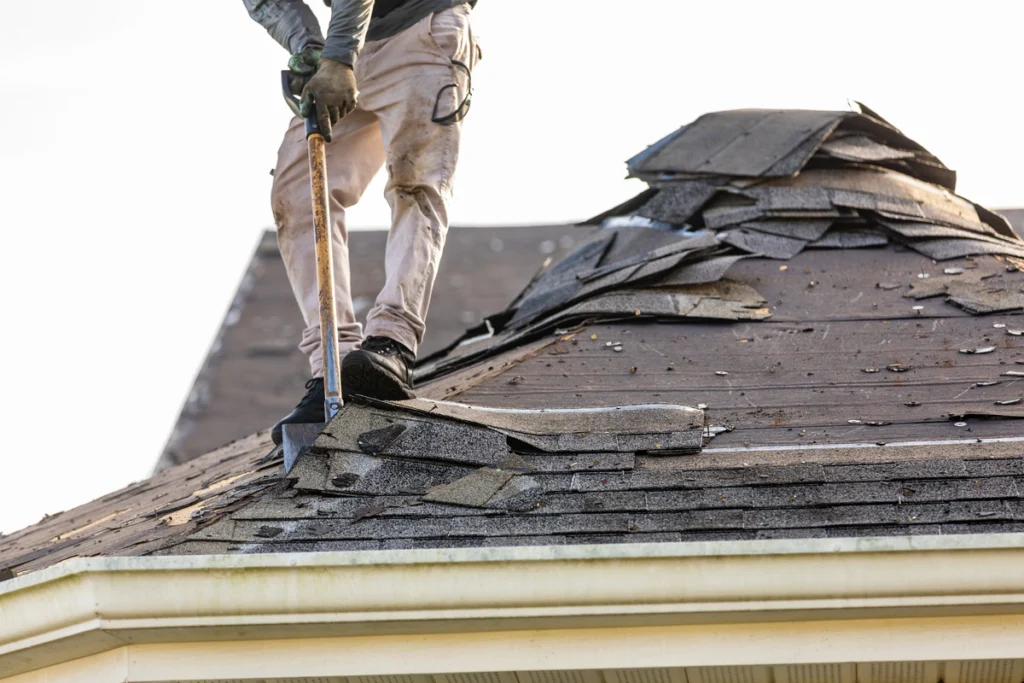
For the task itself, wearing long pants in a durable material will help you avoid scraping your legs on the shingles. On your feet, wear shoes with soft rubber soles for extra grip.
3. Establish a Clear Disposal Plan
An important but often overlooked step of shingle removal is making a plan to dispose of your old shingles and roofing debris. Skip this and you’ll have a major clean-up job on your hands at the end of a long and tiring day.
There are many disposal options, but renting a dumpster is the most convenient. For guidance, most people find a 20-year dumpster to be the best for roof removal projects. Having a large dumpster to hand like this avoids making several trips to the landfill, saving you time and money in the long run.
4. Do the Prep Work
Working from the section of the roof farthest from the dumpster, use your roofing shovel or garden fork to tear the ridge caps. Remember to also tear away at the top courses of the shingles.
The ridge caps should slide down the roof as you pry them loose. If they don’t take them to the edge of the roof for throwing away in the dumpster below.
5. Tear Off Roof Shingles from Top to Bottom
Once you’ve pried the caps off, it’s time to work your way down the roof removing shingles in 2 to 3-foot sections. The method you’ll use to tear off roof shingles is the same as the one you used on the caps.
Take the fork or shovel and slide it beneath the shingles and felt paper. Follow this process to tear off the roof shingles, working from the top to the bottom of the roof until you reach the roof jacks. Depending on how many areas of shingles you plan to remove, you’ll repeat this process until your shingle removal project is complete.
6. Dispose of Debris
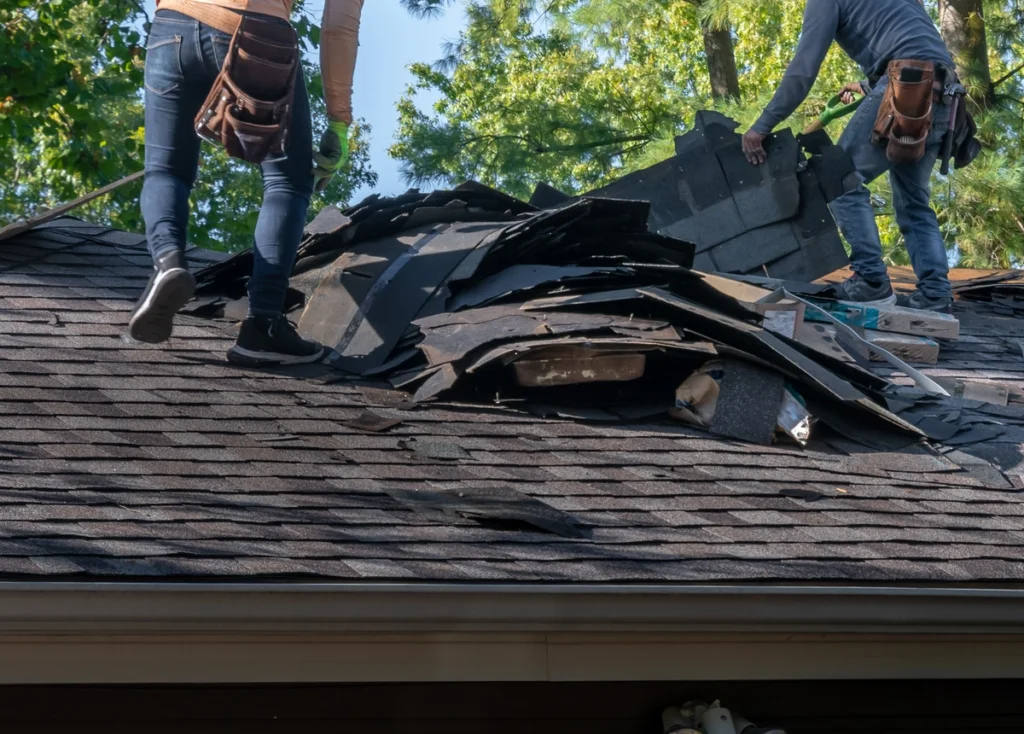
Once you’ve worked your way down to the roof jacks, throw the discarded shingles into the dumpster. Shingles are heavy, meaning that even the materials and debris from a small section of roof will be hard to dispose of. Overloading yourself with armfuls of shingles can easily result in an accident.
With the protection board in place, debris should fall onto that rather than off the roof. If you can, have someone at the board to gather debris and transfer it to the dumpster.
7. Clean the Roof
After each section of shingles is stripped and thrown away, return to the area to pull out any protruding nails. You should then sweep the roof deck until it’s clean to remove any added debris. While you do this, make sure to walk with caution since asphalt shingle granules can make the sheathing slippery.
Your Pro Guide to Removing Shingles
DIY home exterior projects like shingle removal can be hard work. But the process should be a lot clearer now you have this step-by-step guide on how to remove shingles.
That said, if learning more how the professionals do it has convinced you to leave it in our capable hands, we understand! To schedule a roof inspection with us here at Avenue Roofing or to learn more about our services and prices, contact us today.

